This quick post will cover the preliminary steps of setting up a PC to begin wireless (Wi-Fi) penetration testing using a Kali Linux VM and a Wi-Fi adapter capable of packet injection (promiscuous mode). This post is NOT for someone who has no experience or for someone trying to hack their neighbors Wi-Fi for nefarious purposes or free Internet. This is an educational post for those who have some idea of what they are doing and want to get started with Wi-Fi penetration testing. THIS IS FOR EDUCATIONAL PURPOSES ONLY AND SHOULD BE TREATED AS SUCH. I WILL NOT BE RESPONSIBLE IF YOU USE THIS INFORMATION FOR MALICIOUS PURPOSES AND ANY ADVERSE ACTION ASSOCIATED WITH IT.
Required Materials
- PC capable of running a VM with Virtualbox/VMWare and an open USB 2.0/3.0 slot
- Kali Linux image (https://www.kali.org/downloads/)
- A USB Wi-Fi adapter capable of packet injection (promiscuous mode). I use, and recommend, an Alfa Networks USB adapter such as the Alfa AWUS036NHA
-
- *
Setup
Proof of Concept Hardware and Software Versions:
- *
- PC: Windows 10
- Virtualbox: Version 6.0.6 r130049 (Qt5.6.2)
- Kali Linux: Version 2019.4
- Wi-Fi USB adapter: Alfa Networks AWUS036NHA (Atheros AR9271 chipset)
I won’t go much into how to add Kali Linux to Virtualbox or VMWare, there are tons of resources for that elsewhere. There are also preconfigured Kali images for Virtualbox and VMWare as well. The setup process here begins with your PC having Kali Linux downloaded and installed on one of the VM applications. For this proof of concept I am using Virtualbox.
Once you have Kali Linux on your Virtualbox, begin here:
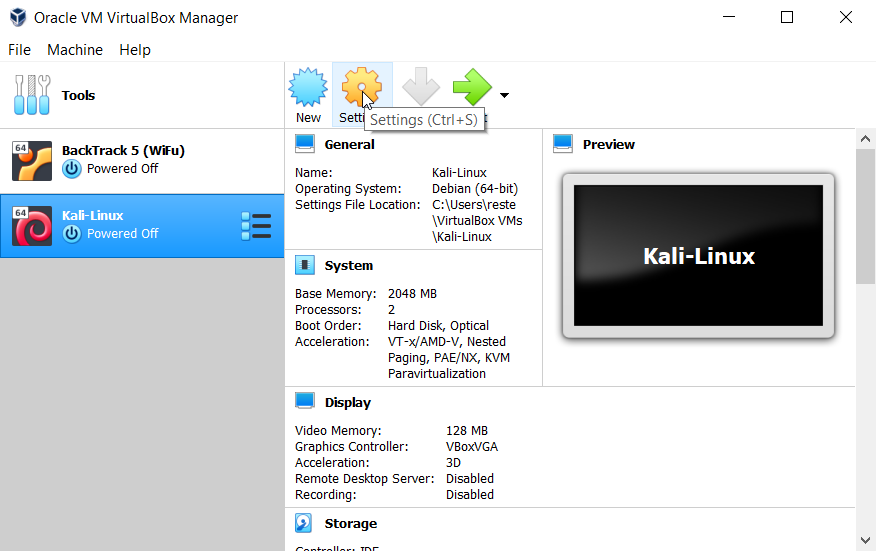
- Go to Settings in the VM manager
- Go to the USB tab and check the box next to your wireless USB adapter to ensure it is enabled. If you have several, make sure it is the top one on the list by using the buttons to the right. The chipset number usually is the best indicator to know which wireless adapter you need to enable.

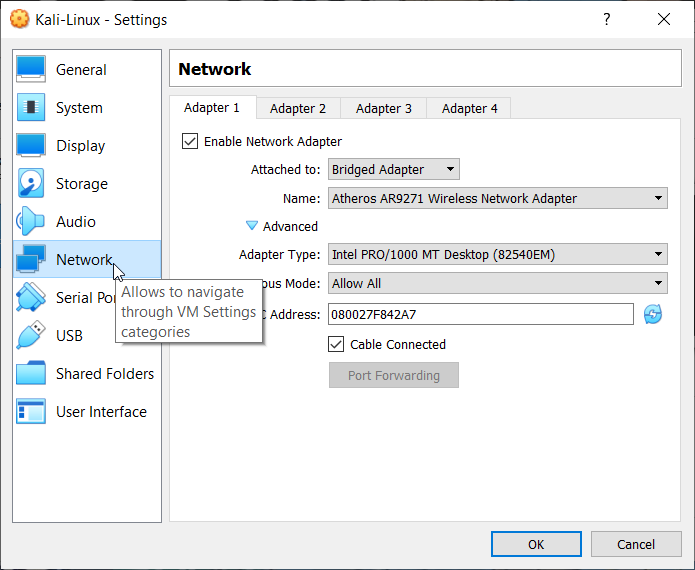
- Go to Network and on the Adapter 1 tab, enable the network adapter and select Bridged Adapter. From there, select your wireless adapter and click the advanced down arrow. Ensure promiscuous mode is enabled (I just Allow all for this case)
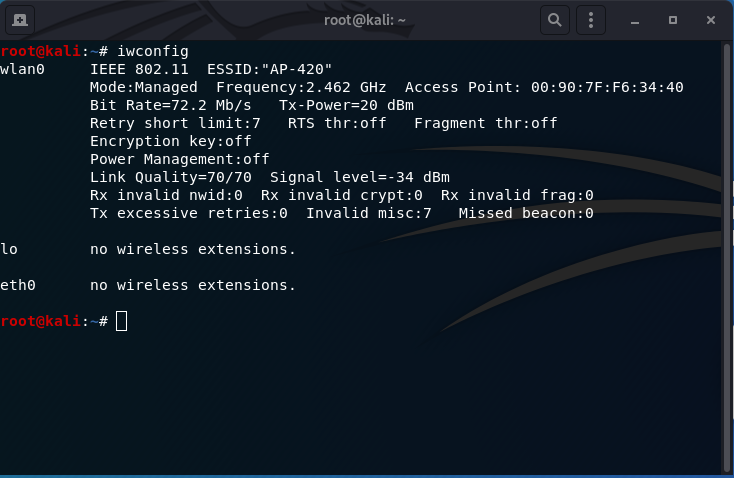
- Start the Kali Linux VM, login and check if the wireless adapter is properly setup and is detected by typing
iwconfig.
NOTE: You can use the ieee80211 wireless stack (ifconfig) but the more modern mac80211 wireless stack (iwconfig or iw) should be used and provides more wireless information by default.
A Few Commands To Gather A Little Preliminary Information Before Starting
Below are a few commands I have picked up during my research and a few tips I took from the WiFu course.
apt update && apt upgrade -y
KEEP YOUR KALI LINUX UP-TO-DATE!
iwconfig
Lists all of the wireless interfaces available, information about it, and their associated AP, if applicable.
iw list
Lists a ton of information about the wireless interfaces and it’s capabilities.
iwlist wlan0 frequency
Lists the applicable frequences available based on geographic location regulatory limitations and will also vary depending on if you’re on the 2.4GHZ or 5GHZ band.
iw dev wlan0 scan | egrep "DS\ Parameter\ set|SSID"
Lists all of the SSIDs in the scanable area and the channels they are running on.
iw dev wlan0 interface add mon0 type monitorifconfig mon0 upiwconfig mon0tcpdump -i mon0 -s 65000 -piw dev mon0 interface del
Creates a new wireless interface in monitor mode
Starts the new monitor interface.
Verifies the monitoring interface is up and functioning.
Creates traffic to ensure the new monitoring interface can capture traffic.
Destroys the monitoring interface
Of course, most wireless penetration testing won’t use manual commands such as these, but it is important to know how they work and that they are available. Most wireless penetration testing will use tools such as the Aircrack-ng suite, Kismet, the Wi-Fi Pineapple, and others.
I hope this has been some help getting started!