Introduction
This post pertains to a prior Capture-The-Flag (CTF) competition I was competing in where one of the challenges was to read the text (or flag) of a file from a packet capture (PCAP). The PCAP was taken from a user downloading a file from a misconfigured or outdated FTP server that didn’t have SSL/TLS encryption. So, I set up a simple FileZilla FTP server on my Windows machine and attempted to recreate the challenge so I could have documentation on how to perform some of the actions. This post covers how to read unencrypted FTP traffic from a Wireshark PCAP and file carving techniques to be able to recreate a file from a PCAP stream.
Disclaimer: This post is meant for educational purposes only and any information obtained sholuld not be used for malicious purposes. I will not be responsible for any damage, harm, or legal action derived from any information within this post.
Table of Contents
This post is broken down into four sections:
NOTE: If you are only interested in the PCAP analysis and file carving, start at step 3. Steps 1 and 2 pertain to recreating the challenge for personal use. I have also kept the PCAP I used for this post to practice on. You can download the PCAP from my GitHub and try it yourself:
Setting Up The FileZilla FTP Server
The first step to recreate this challenge is to acquire the sufficient applications to perform these operations. The applications I chose (and you can shoose what works for you) are FileZilla for the FTP server and WinSCP as an FTP client. Other popular choices are VSFTPD for an FTP server and a simple Linux terminal as a client. As a Windows user, I recommend these two applications if your aim is to recreate this challenge. Now to set up the FileZilla Server.
FileZilla
Download FileZilla
- Download the current version of the FileZilla Server Here (it’s free):
Install FileZilla
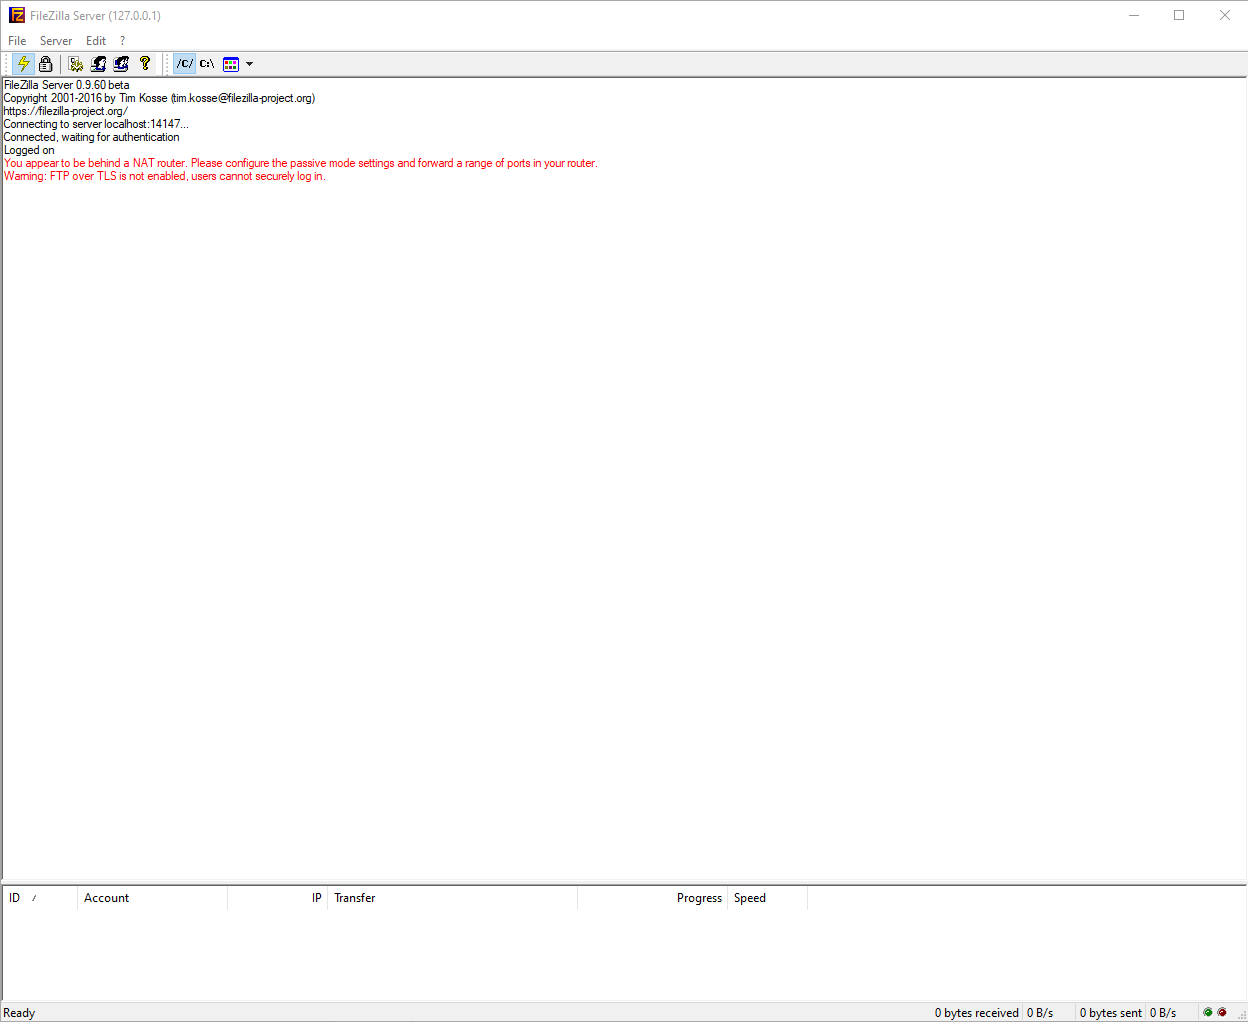
- After downloading the executable, run it and follow the command prompts. The only change you should have to make in the install wizard is perhaps the port number, but the port number for FileZilla is pretty high (14147) so it shouldn’t interfere with other connections. After following the modals, you will be presented with the server dashboard:
Add User to FileZilla
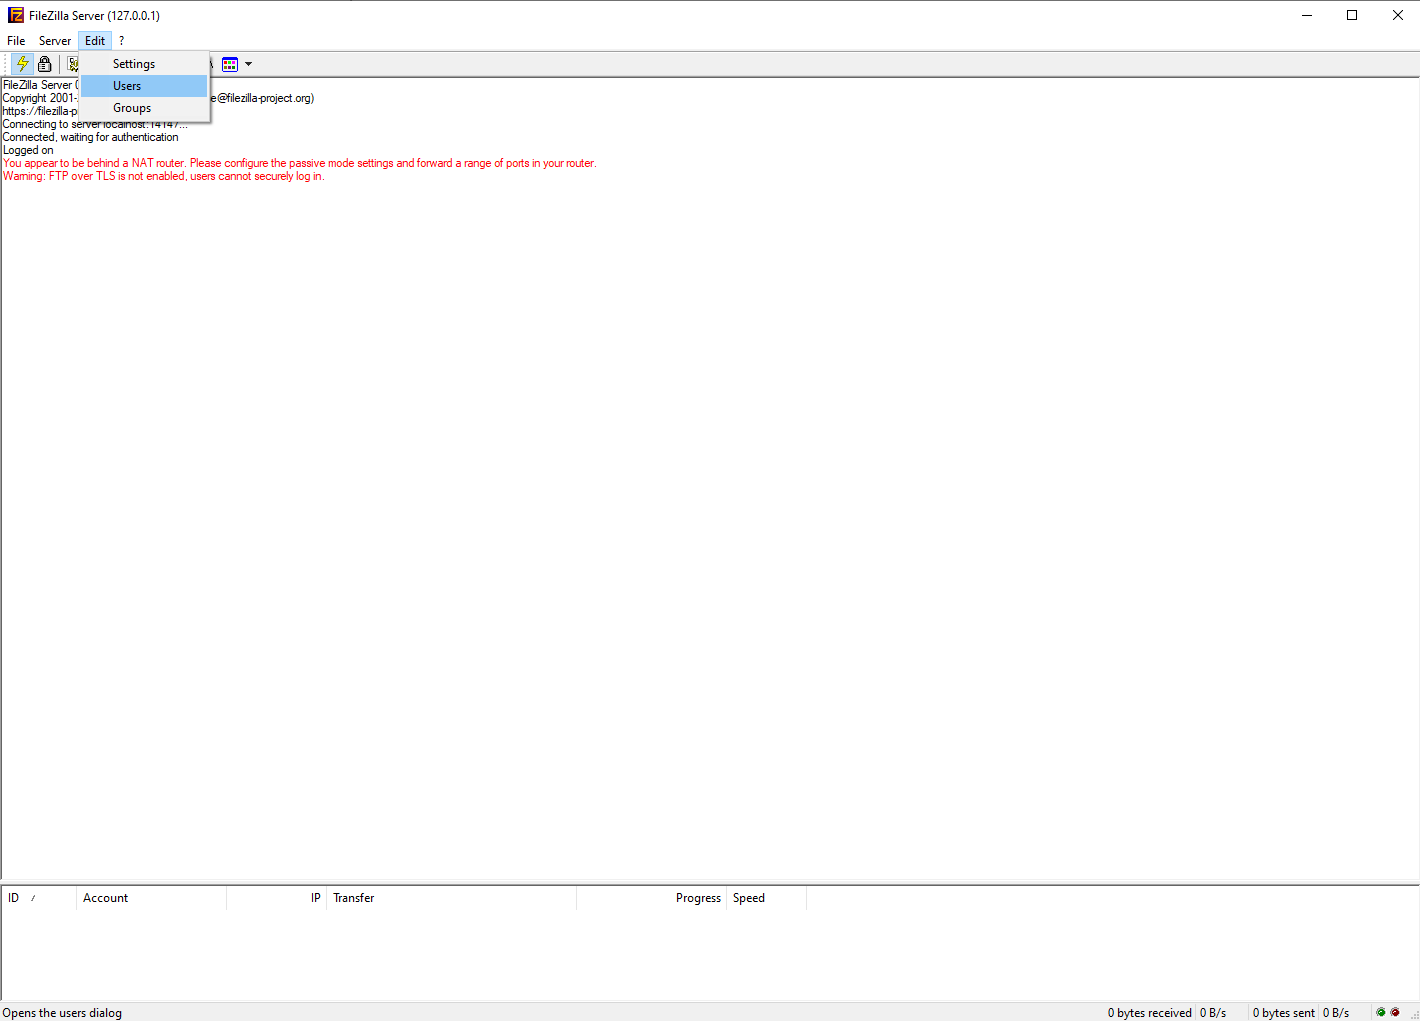
- Once FileZilla is successfully installed, we need to create a simple user for authentication. To Perform this in a FileZilla Server click on Edit -> Users
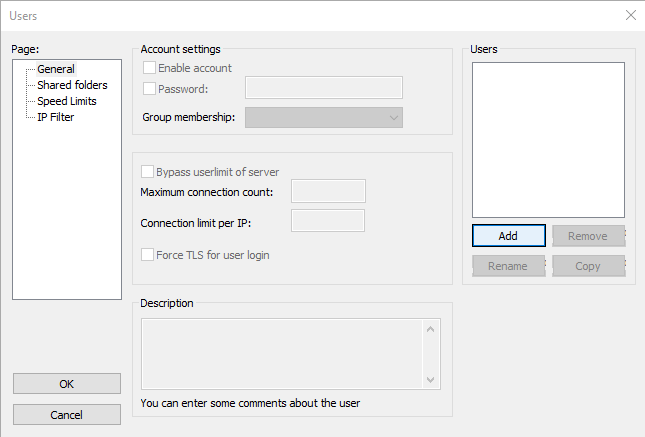
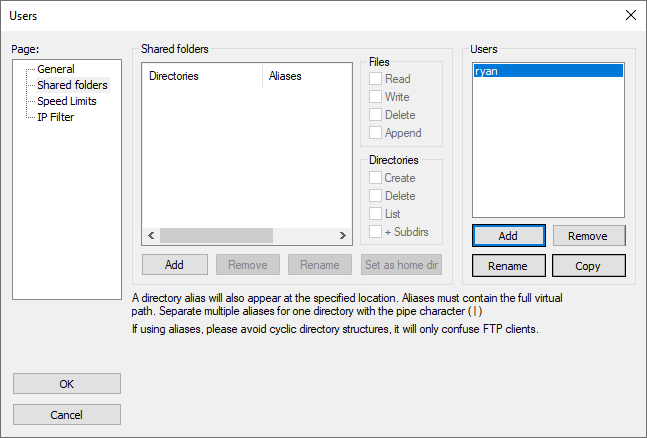
- A new window will appear. Ensure the General page is chosen on the right-hand side of the window and click on Add on the right-hand side of the window. I have the button highlighted in the window below:
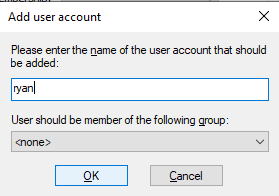
- Another very small window should appear to add a user and add them to a corresponding group. Add a name for a user. There is no need to add the user to the group for this exercise. Click OK.
FileZilla Shared Folder
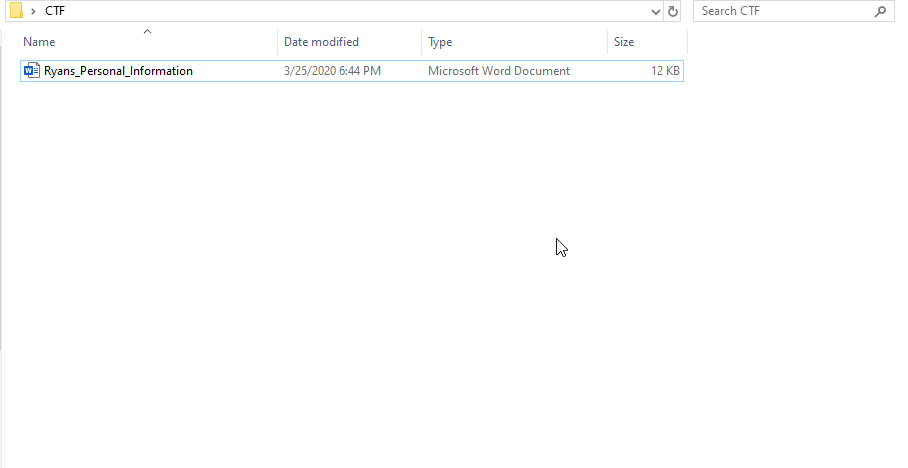
- A shared folder is required for each user in order for FileZilla to function. Additionally, one of these shared folders must be a home directory. I simply created a folder on my desktop and set it as the home directory for my simple user. In that folder I created the CTF word document that will be used for the PCAP file carving. So, quickly create a folder in the destination of your choice where you can easily find it (I just put mine on my Desktop). Right-click on any open location on your desktop; hover over New and the click on Folder. Name it what you want:


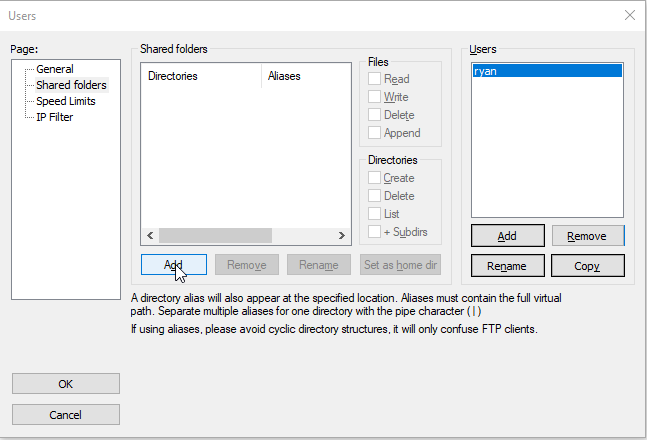
- Return to FileZilla and in the same Users window, click Shared Folders on the left-hand side under the Page: text box.
- Click on Add under the Shared Folders text box. It is highlighted below:
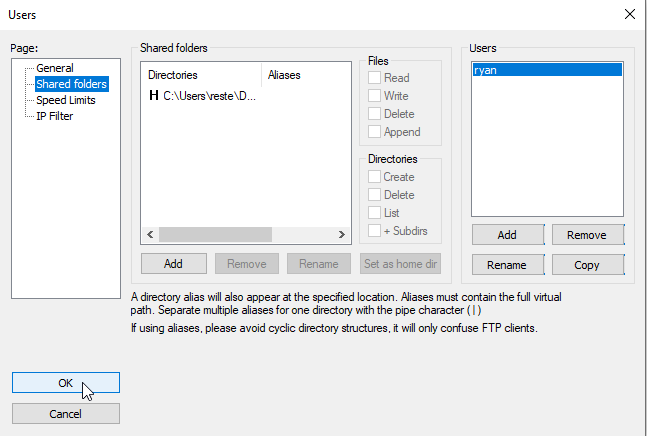
- Locate the folder you just created, select it and press OK :

- The folder will be the only one for the FileZilla and thus, the application will select it as the home directory by default. Click OK in the bottom left of the Users window to close it, finally.
Ensure SSL/TLS encryption is OFF
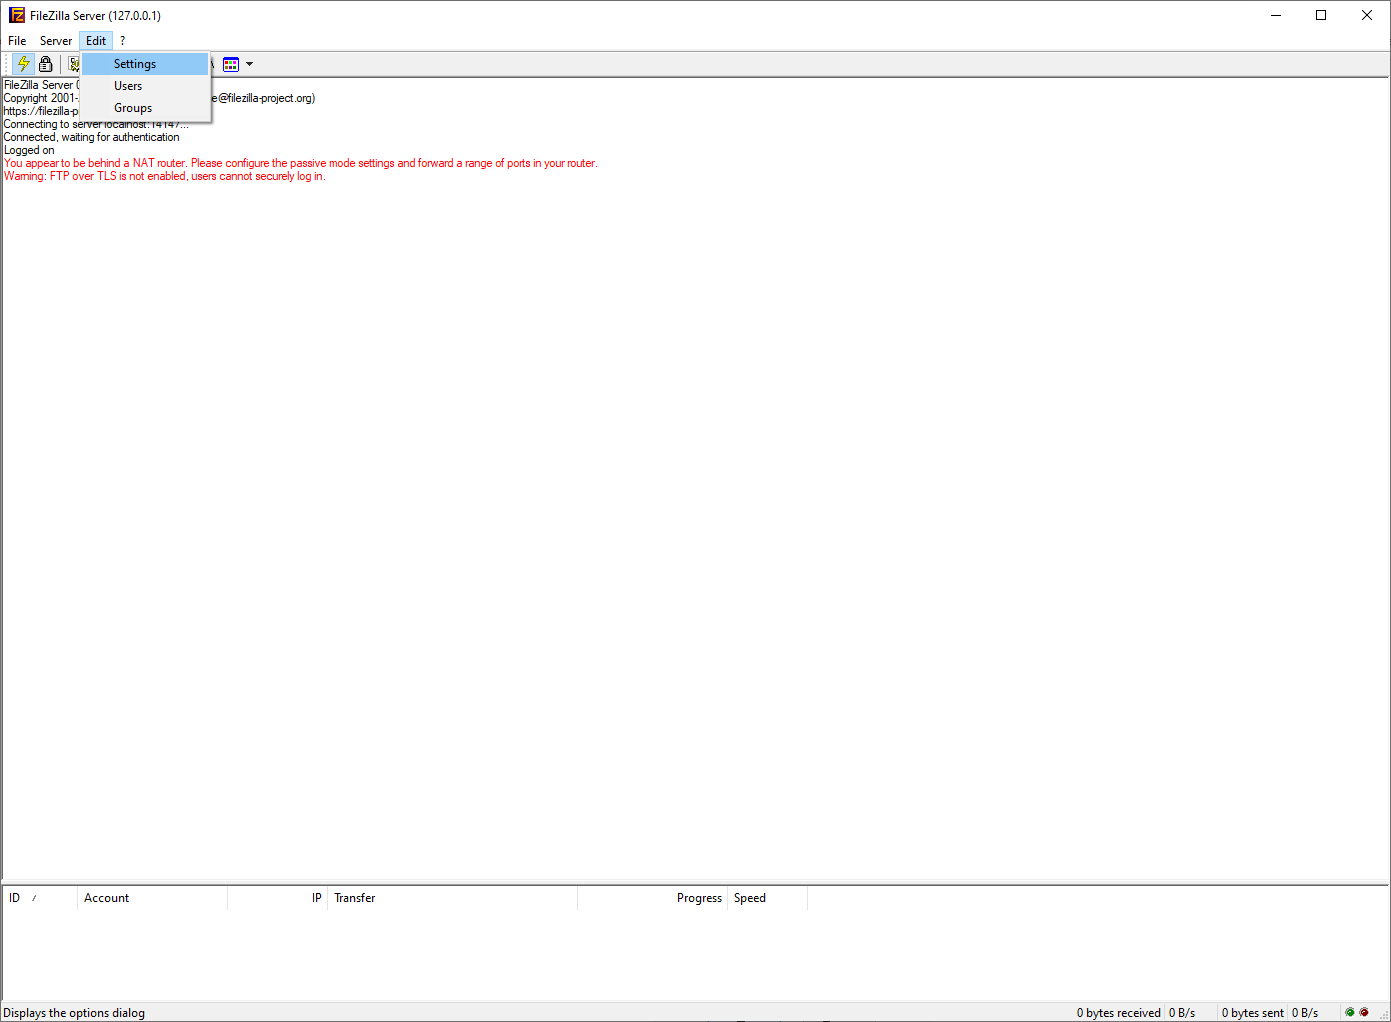
- FileZilla actually doesn’t have SSL/TLS encryption on by default. To perform this post, ensure this is still off, or, if you currently use FileZilla, turn it off. Check this by going to Edit -> Settings :
- On the left side of the window that appears, select FTP over TLS settings
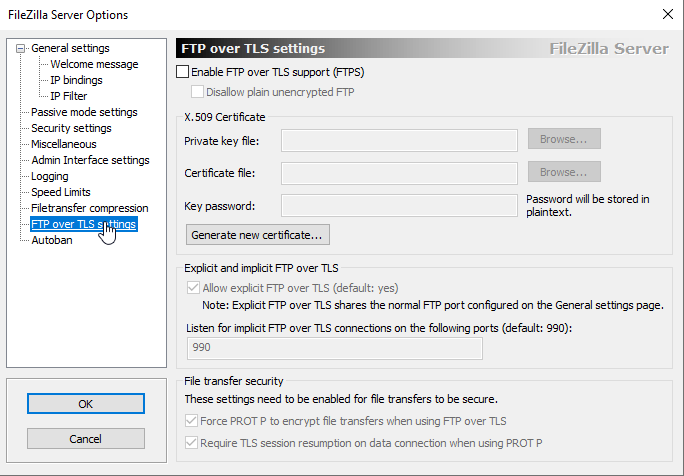
- Ensure the checkbox next to Enable FTP over TLS Supprt (FTPS) is NOT selected. Click OK. We are done for FileZilla for now, so minimize it or move it aside.
WinSCP
- Download the current version of WinSCP Here (it’s free):
- Go through the download prompts and then minimize or set WinSCP aside for now as well. Just a little more prep work before the fun stuff.
Creating the Wireshark PCAP
All of the initial preperation work is done, for the most part. The only preperation work to be done is to get Wireshark downloaded (if not already) and create the file that you will be capturing from/to the FileZilla server. Then we can recreate the scenario and capture the traffic accordingly.
Downloading Wireshark
- Download the current version of Wireshark Here (it’s free):
- Go through the installer prompts. Nothing should need to be changed unless it’s specific to your system.
Creating the Pseudo-Sensitive File
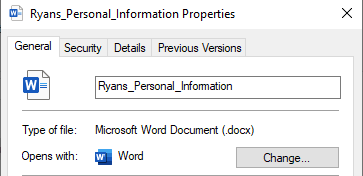
- The next step is to create the file that you will be carving for this exercise. I used a Microsoft Word Document, as the title suggests.
NOTE: You can use any file you want but you must know the filetype signature, or magic number. PLAIN TEXT FILES (.txt) SUCH AS THOSE MADE IN NOTEPAD DO NOT HAVE FILE SIGNATURES!
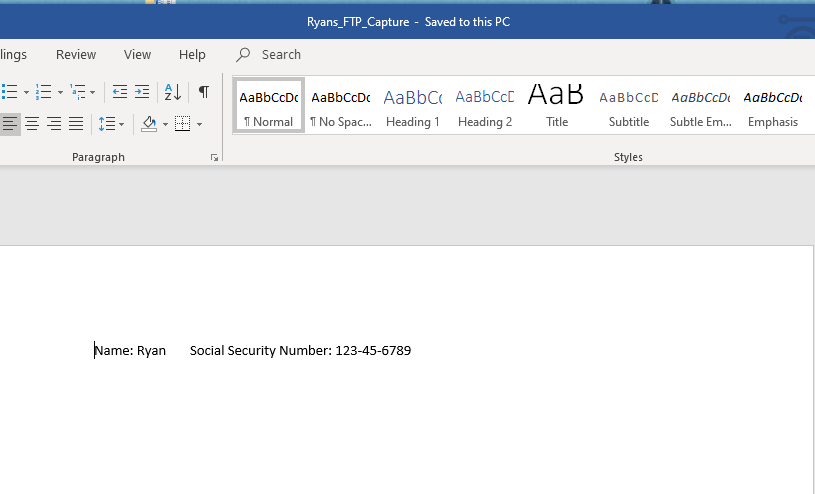
- Here are the contents of the file, it’s location in the shared folder I designated in FileZilla earlier, and the properties to determine the file type (.docx)

Creating the PCAP
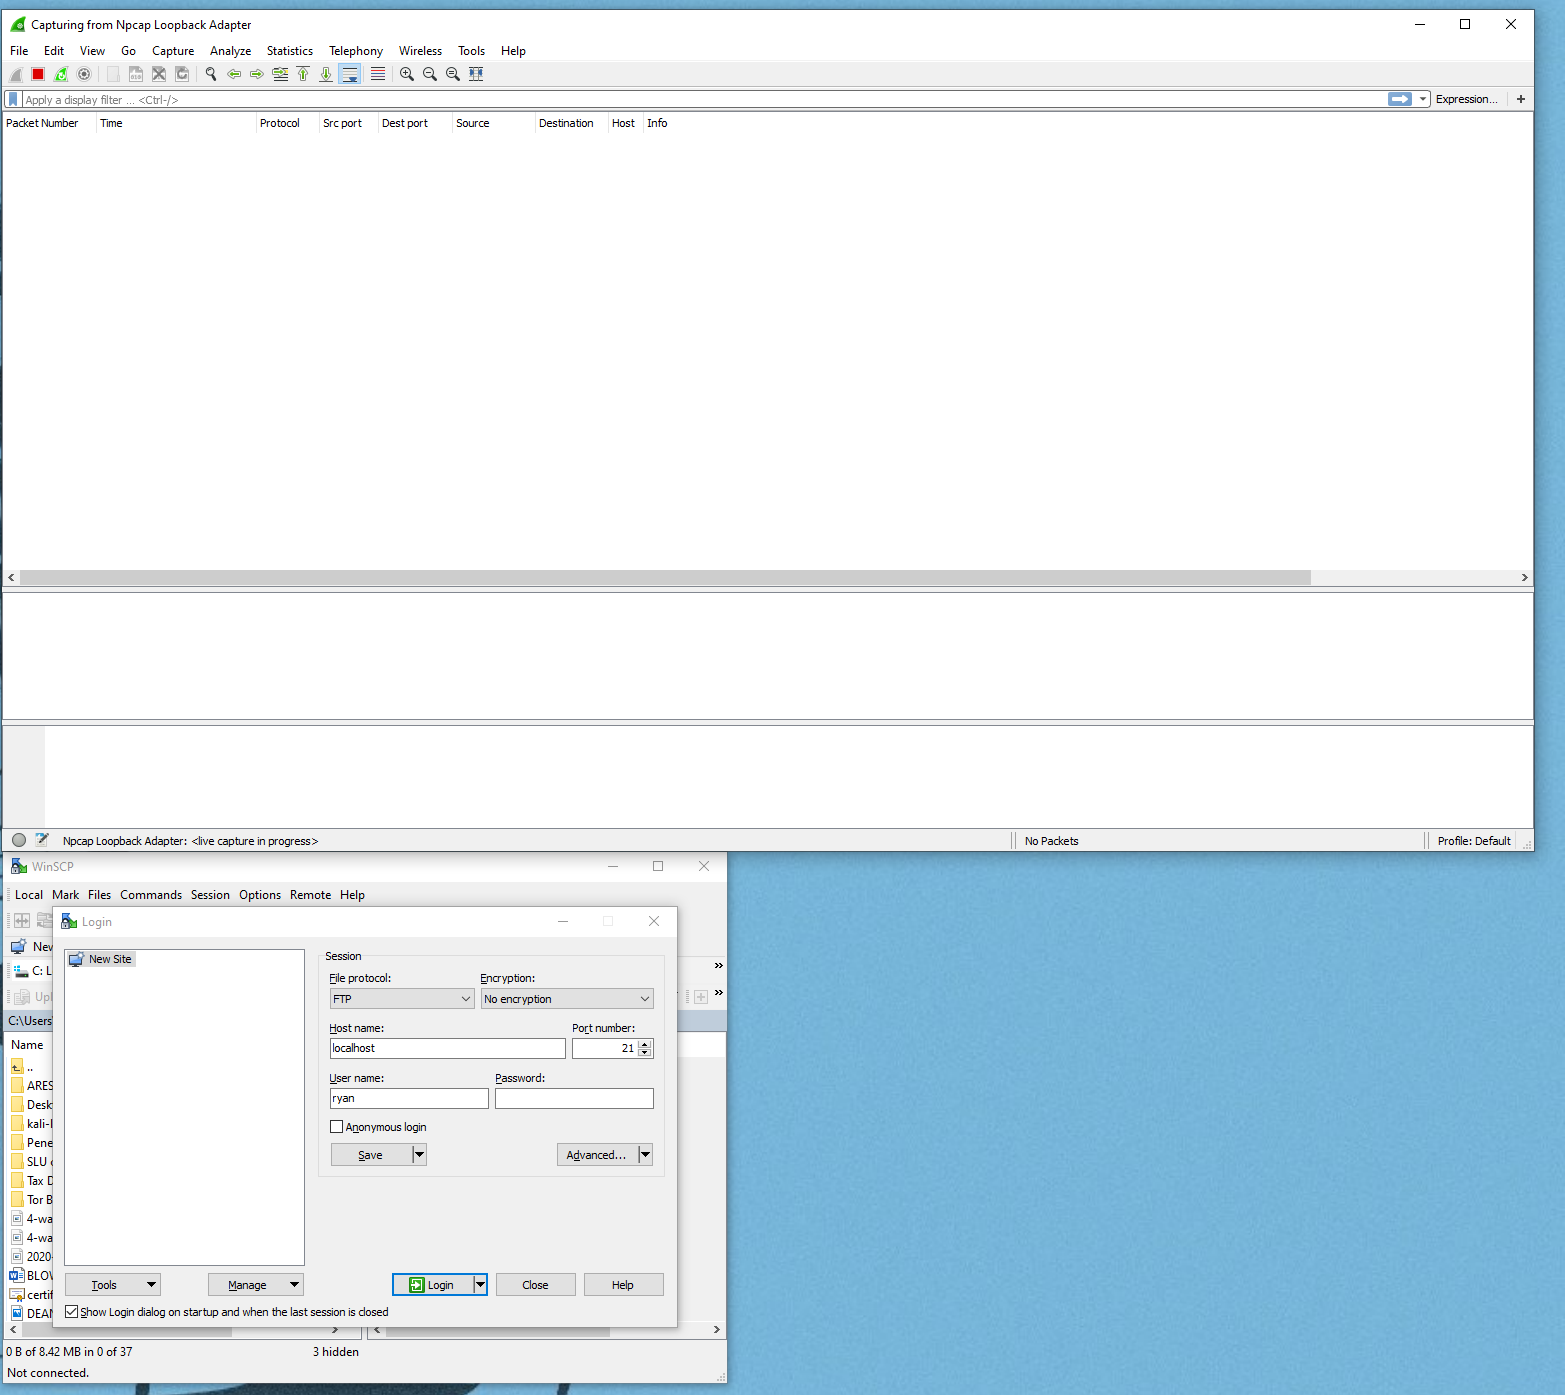
- Set up your Desktop so that you can see WinSCP and Wireshark. Also ensure your Filezilla server is on and running (I just minimize it):
-
Login to the FileZilla FTP server using WinSCP. If you are following along you will need to enter the following or make the following changes:
- File Protocol: FTP
- Encryption: No encryption
- Host Name: By default FileZilla runs from localhost or 127.0.0.1
- Port Number: Don’t change unless you have system specific changes (21)
- User Name: The name you created in your FileZilla FTP server (ryan)
- Password: leave blank unless you created a password
Here is my window right before logging in:

If you have no password just press OK again.

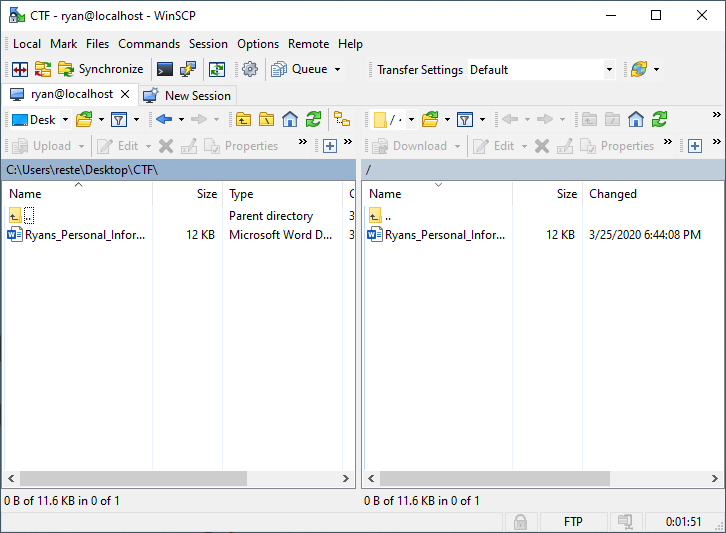
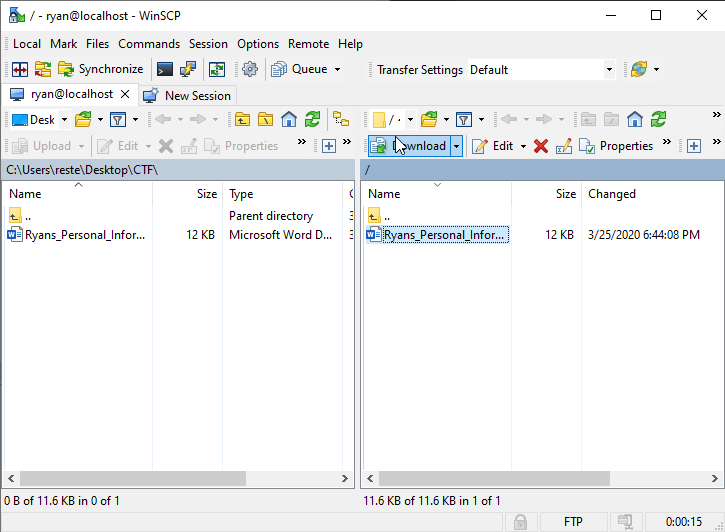
- Once you login you will see a screen similar to the one below. The left side is the client (upload files), the right-hand side is the server (download). We are only interested in the right-hand side. Although, you can carve out files from an upload or a download!:
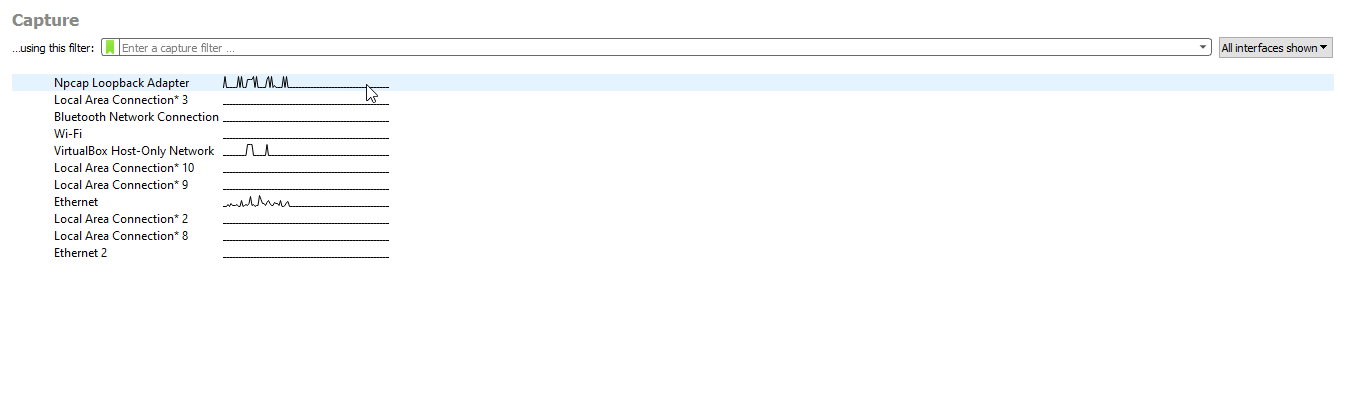
- Now, to make a concise PCAP, you may have to do this fast depending on the traffic going through your loopback adapter. It will work regardless because we are searching for a specific packet regardless. To begin the PCAP, start your loopback adapter interface on Wireshark (or whatever interface you need to use that your FileZilla is connected to):
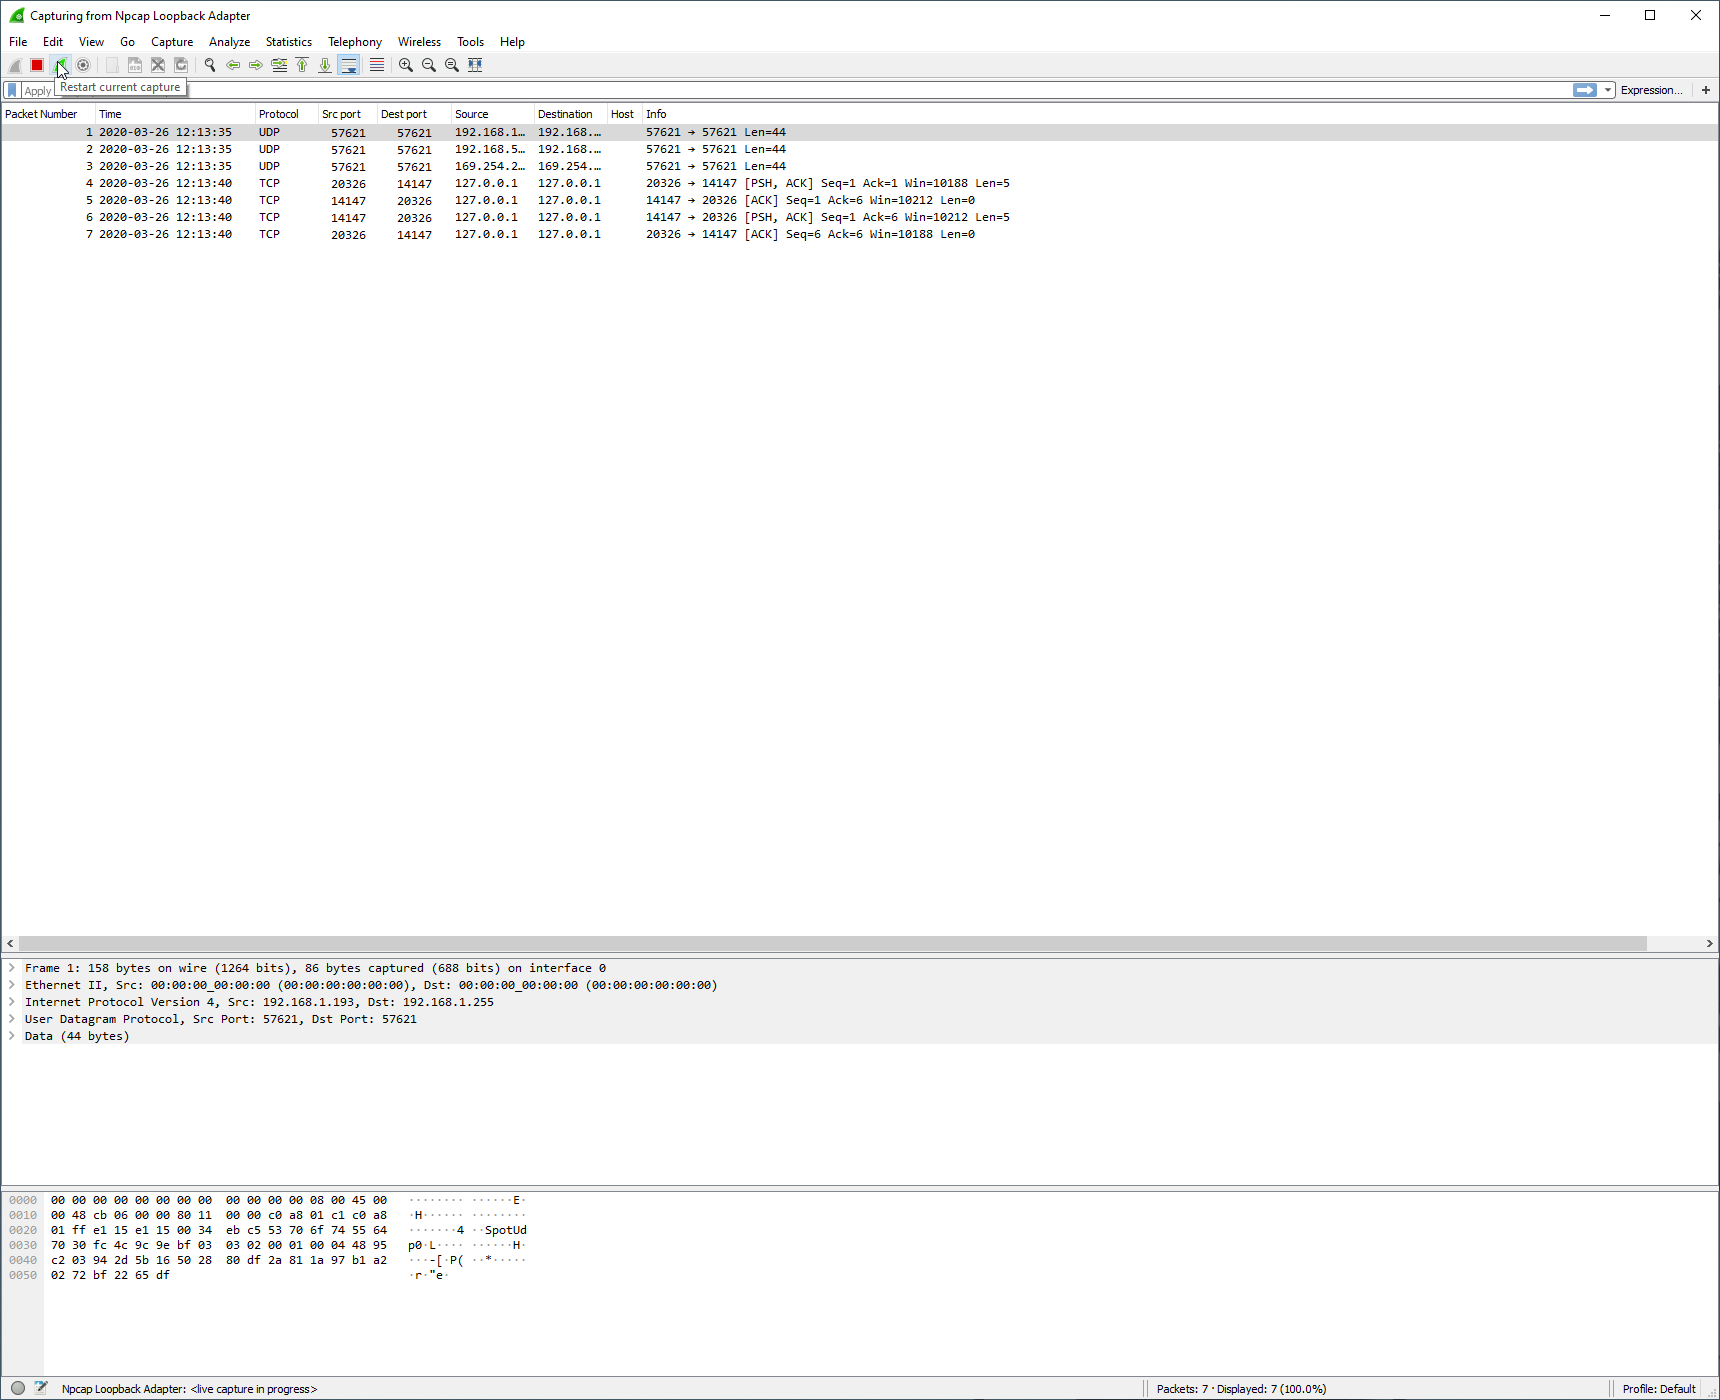
- This step is the step in which we start Wireshark, download a file from the FTP server with our test user, and stop the capture. Follow these precise steps to get a quick PCAP of the FTP download. If you have been running a capture with Wireshark, click the Green Shark Fin button at the top left of the window and Restart Current Capture.
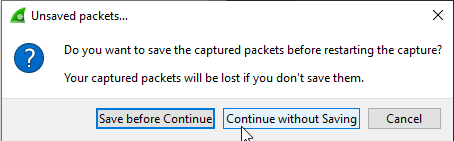
- Click Continue Without Saving if you don’t want to save the capture
- Pivot over to WinSCP, select the file on the right-hand side of WinSCP and click the Download button right above (or press F5):
- Wait a few seconds and then stop the Wireshark capture by clicking the Red Box on the top left of the Wireshark window. You can also monitor the PCAP and wait for the specific packet, if you know what you are looking for, and then immediately stop the capture.
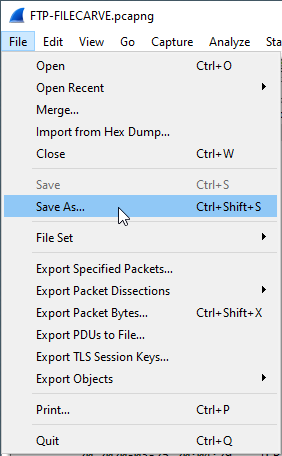
- Finally, save the PCAP file by going to File -> Save As…
File Detection
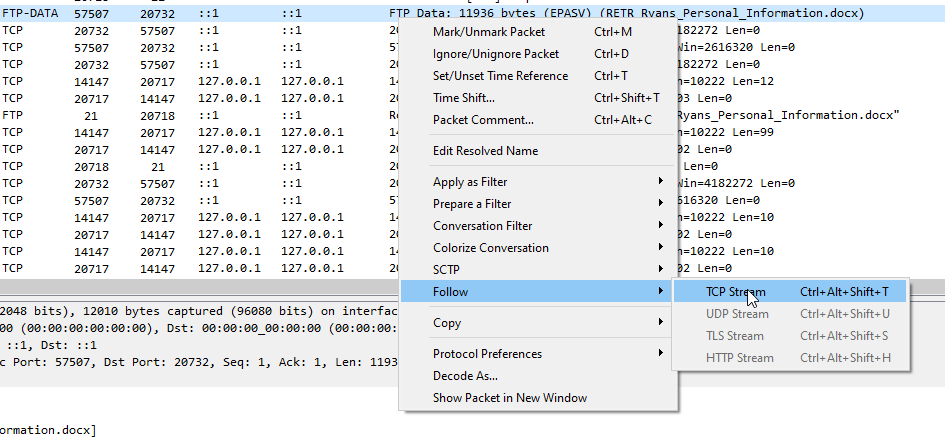
Finally, time for the fun stuff. This section is very short and shows how to pinpoint FTP data from other data in a nonencrypted FTP Wireshark PCAP. The process is very trivial, just look for the packet that has the Protocol column labeled FTP-DATA. Other FTP traffic such as authentication and directory changes are labeled as FTP. You could also just use a Display Filter at the top of Wireshark and type in “ftp-data” to filter this packet. I removed the color labeling in Wireshark to pinpoint this packet easier. Below is the PCAP of the FTP traffic and I have highlighted the packet in question:
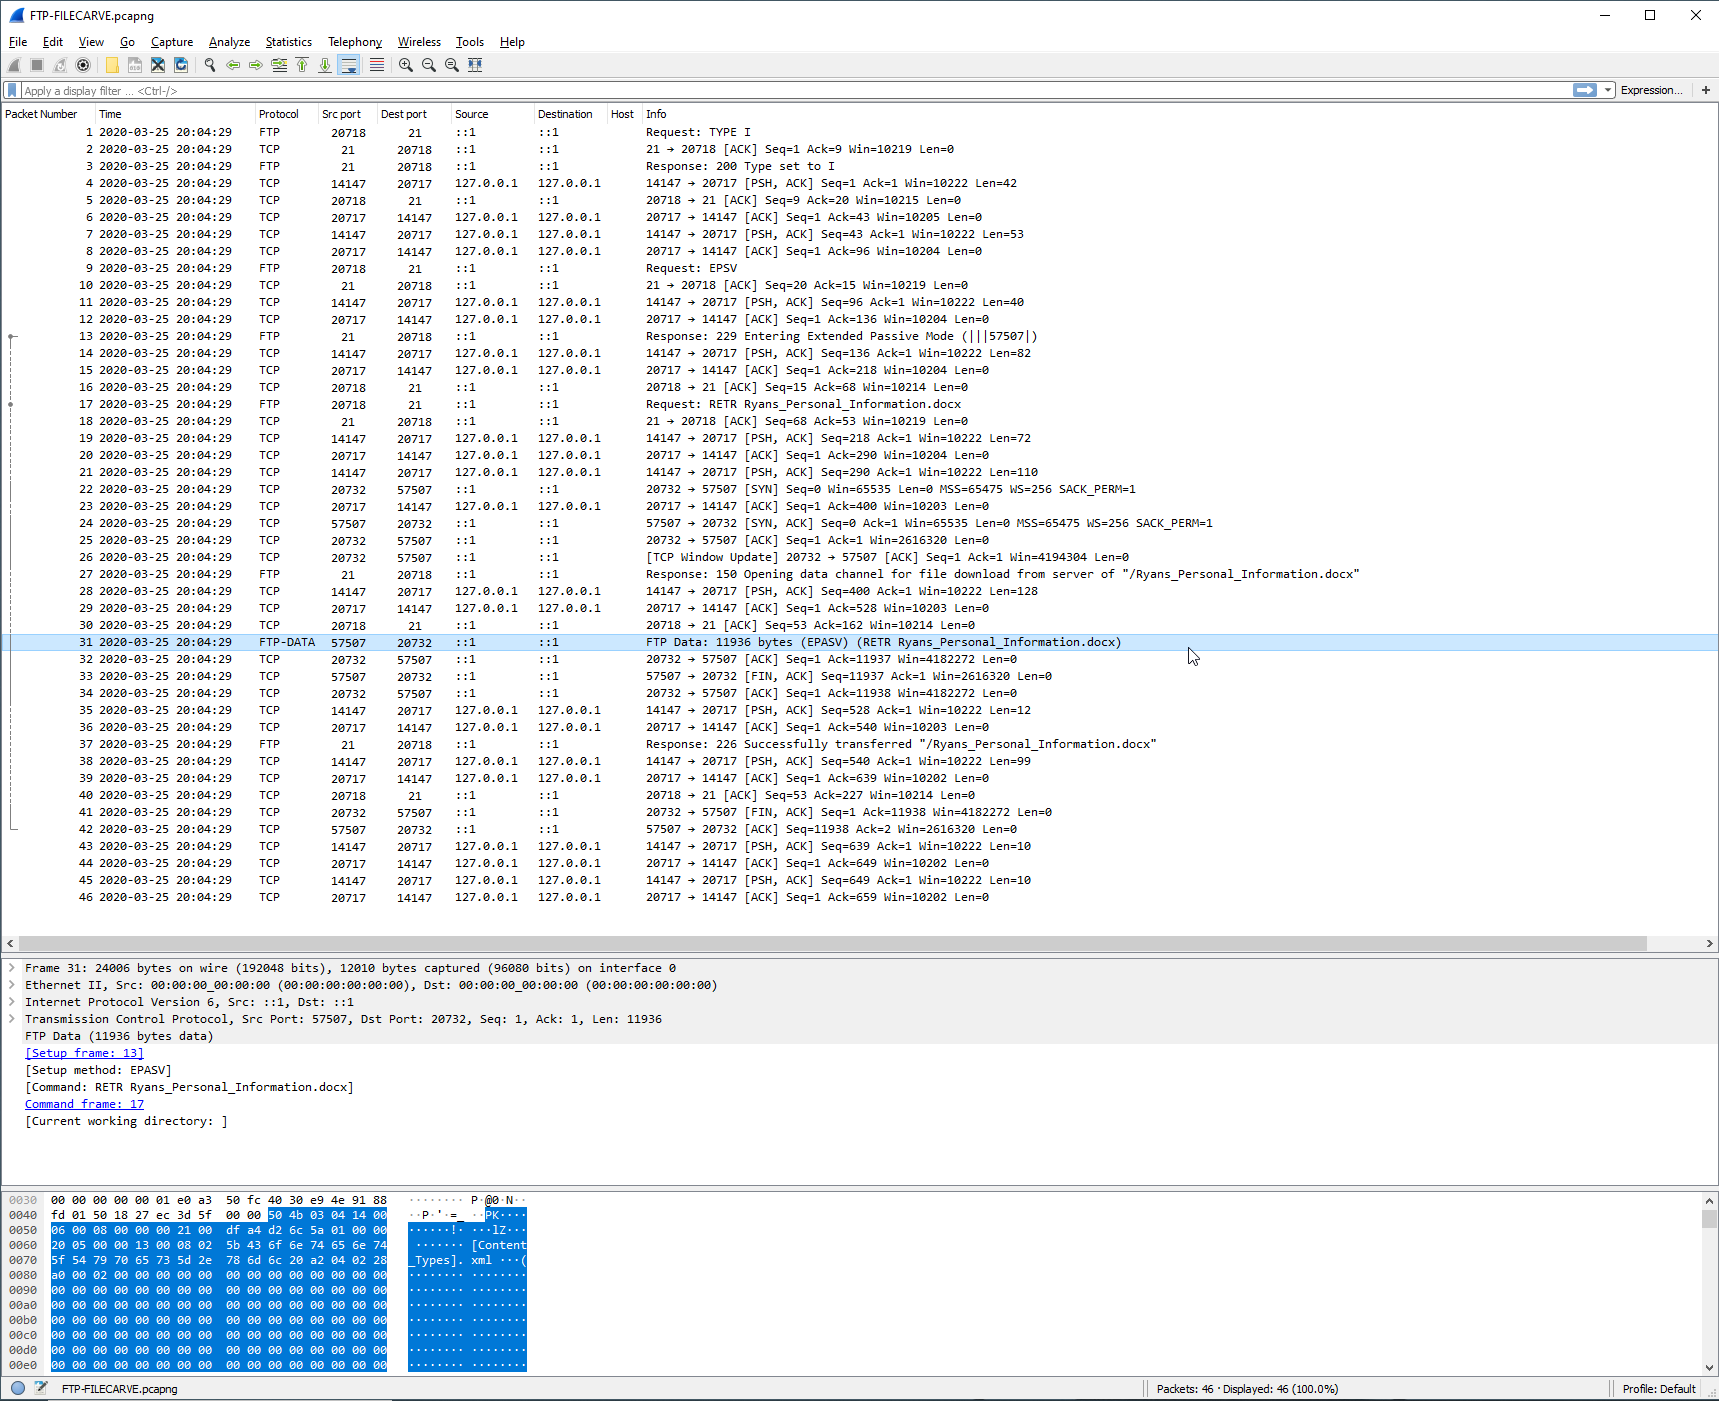
You can see on the same row that the file the user downloaded is actually displayed in the packet info. The user downloaded “ Ryans_Personal_Information.docx”, which was 11936 bytes. Now lets see what’s in this file!
File Recovery
This section is where we take the PCAP, and the FTP-DATA packet specifically, and convert the raw packet data back into a Word Document (.docx).
Before beginning, it is paramount to know that each file on a computer begins with a “magic number” or “file signature” to determine what file type it is, besides simple text files. This is how a computer knows when a specific type of file begins in memory. Once this certain hex sequence is detected in memory, it determines how to read the file, if it is able. For example, a Microsoft Word Document, or a .docx file, has a file signature of:
50 4B 03 04 14 00 06 00
A master list of these file signatures can be found on Gary Kessler’s website:
Gary Kessler’s File Signature Master List
With that being said, perform the following steps to be able to carve out this docx file and see what is inside:
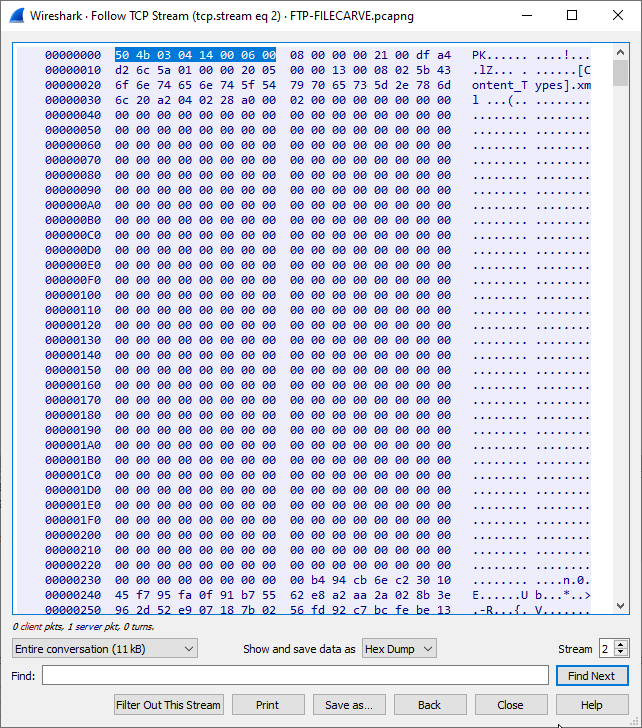
- Right click the FTP-DATA packet in question and select Follow -> TCP Stream (Ctrl + Alt + Shift + T)
- A window with a bunch of jargon will appear. At the bottom, change the dropdown box where is says “Show and save data as”, from ASCII to Hex Dump

- More jargon should appear! This is more meaningful jargon, though. Notice the very first few bits of hex in the file. They are EXACTLY the same as the .docx file signature. Now if we didn’t already know what type of file this was, THIS IS THE WAY TO DETERMINE THE FILE TYPE. Since the file signature matches our .docx file signature, we can copy the raw data and convert the packet back to a Word document!
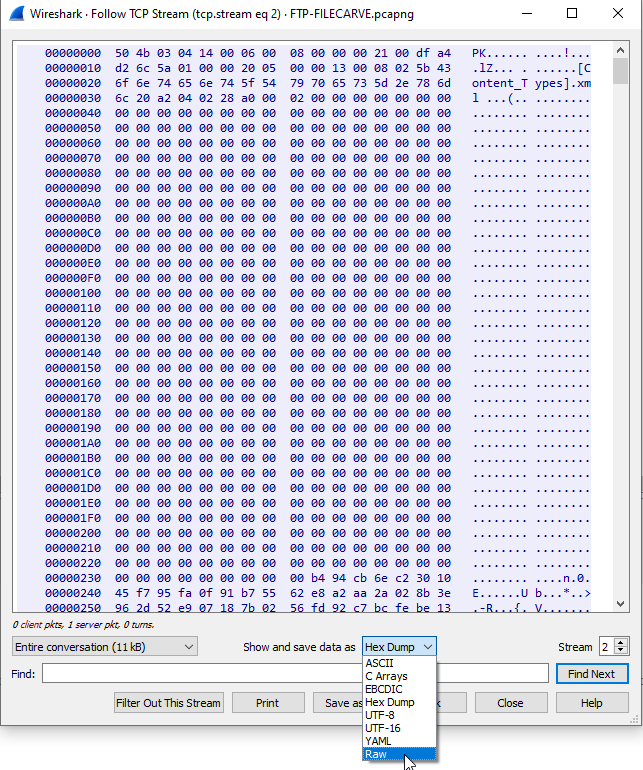
- To do this, switch the dropdown menu for “Show and save data as”, from Hex Dump to Raw. EVEN MORE JARGON! However, you can still tell that this is a .docx file by looking at the first few alphanumeric characters again. It’s the same data in a different format!
- Near the bottom of the window, click Save As…
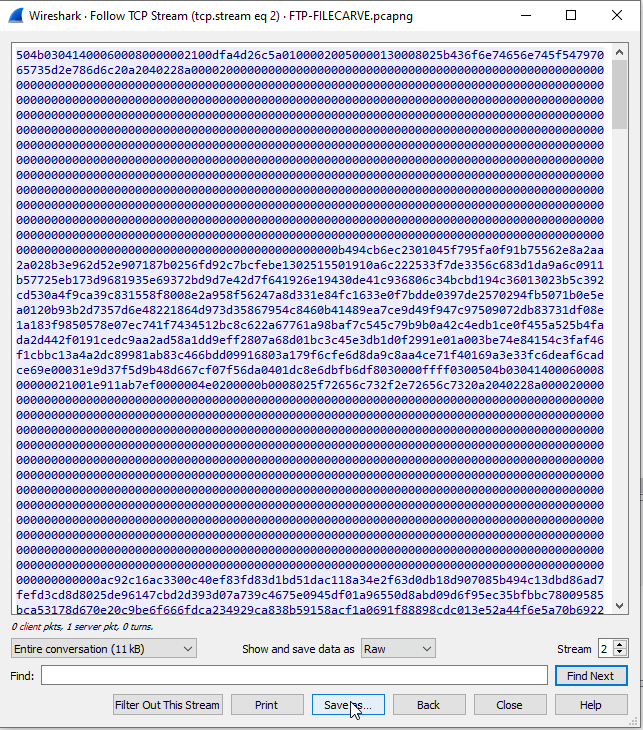
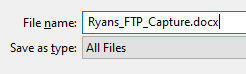
- Save the file as whatever you want, HOWEVER, YOU HAVE TO END THE FILENAME WITH THE CORRESPONDING FILE TYPE AND NOT AS A .TXT!!!! in my example, I saved it as a .docx. Change the ““Save as type:” to All Files.
- Find the file you just saved and open it.
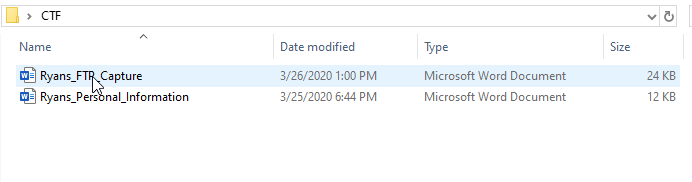
- It’s the same file, recreated! There was no data loss and we were able to discover the contents of a file without downloading it directly from the FTP server.
Conclusion
I performed this challenge in an unknown CTF and wanted to recreate this challenge for anyone trying to learn forensics or to create a CTF challenge yourself. There’s a lot of good cybersecurity topics learned from this challenge - forensics, packet captures, FTP server configurations, importance of encryption, and more! I hope this has inspired or assisted someone. As always, if there are any questions or concerns with this post don’t hesitate to email me or comment below.
Thanks!